
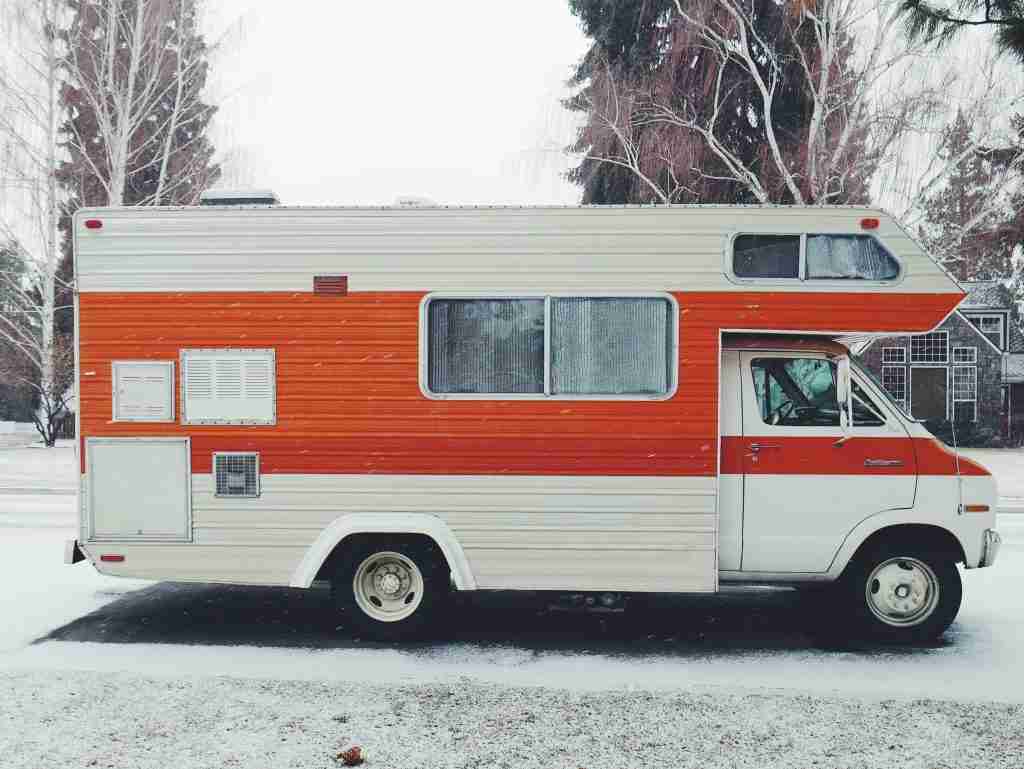
As the cold weather approaches, it’s essential to prepare your RV for winter to ensure it’s ready for the next camping season. Winterization is crucial to prevent damage from freezing temperatures, especially to your RV’s plumbing, exterior, and interior systems. Here’s a comprehensive guide on how to prepare your RV for winterization!
Why winterize your RV?
Winterizing your RV is essential for protecting your investment, ensuring safety, and preventing costly repairs. When temperatures drop, the water left in your RV’s pipes, tanks, or pumps can freeze and expand, causing the pipes to crack or burst. This can lead to extensive water damage that requires expensive repairs. Proper winterization, including draining the water system and adding antifreeze, helps avoid these issues and ensures that your RV’s plumbing remains intact through the cold months.
The exterior of your RV is also vulnerable to winter weather. Snow, ice, and moisture can seep into small cracks or gaps, leading to water damage, mold, and mildew. Sealing these openings and using an RV cover can protect against these elements, helping to keep your RV in good condition until it’s time to hit the road again (Omni Outdoor Living). Inside your RV, cold temperatures can affect appliances, electronics, and other components, while moisture buildup can lead to mold and mildew. Proper winterization measures, like using dehumidifiers and keeping air circulating, help maintain a healthy and damage-free interior.
Taking these steps not only protects your RV from immediate damage but also extends its lifespan. Regular maintenance, including winterization, prevents cumulative damage that could otherwise shorten the life of your RV. This, in turn, saves you money on repairs and ensures that your RV remains a reliable vehicle for future adventures.
Moreover, proper winterization preserves the value of your RV. As a significant investment, your RV requires care and maintenance to retain its value. A well-maintained RV will command a higher resale price than one that has suffered from winter-related neglect, making winterization an important part of maintaining your RV’s financial worth/
Finally, winterizing your RV ensures a smooth start to the next camping season. When spring arrives, a properly winterized RV will be ready to go with minimal hassle, allowing you to hit the road quickly without worrying about unexpected repairs or malfunctions caused by winter weather.
1. Drain and Bypass Your Water System
One of the most critical steps in winterizing your RV is to ensure all water is removed from the system to prevent pipes from freezing and bursting. Start by draining the fresh water tank, water heater, and all plumbing lines. You can use a water pump converter kit or an antifreeze hand pump to help with this process. The Camco Water Heater Tank Rinser helps flush out any remaining sediment in your water heater, ensuring it’s completely drained and clean before winter.
2. Use RV Antifreeze
After draining the water, you’ll need to pump RV-specific antifreeze into the plumbing system. This antifreeze is non-toxic and safe for use in potable water systems, and it will prevent any remaining water from freezing. Choose an RV antifreeze effective at a wide range of temperatures to keep your water lines from freezing. The Super Brite Winter Tech RV antifreeze is designed to protect your water lines up to -50 degrees Fahrenheit.
For those using propane for their heating systems, ensure your propane cylinders are filled and properly maintained to keep your RV warm if needed during winter.
3. Protect the Exterior
Your RV’s exterior also needs protection from harsh winter weather. Start by thoroughly cleaning your RV using an RV detergent like the Camco RV Wash & Wax. Then, inspect your RV for any cracks or gaps in the roof, windows, and doors. Promptly fill and repair any damage to prevent moisture from entering. Consider using a specialized RV cover, like the Camco Pop-Up Camper Ultraguard Cover, to protect your vehicle from snow, ice, and UV damage.
4. Maintain the Tires
Tires can be affected by cold weather, leading to flat spots or cracks. To avoid this, inflate them to the manufacturer’s recommended pressure and consider using tire covers. Throughout the winter, check on your RV’s tire pressure and inflate or deflate the tires as necessary.
5. Take Care of the Batteries
Batteries can lose their charge in cold temperatures, so it’s important to disconnect them and store them in a warm place. If your RV will be in storage for several months, check the battery charge periodically and recharge if necessary.
6. Winterize the Interior
Though winterization typically refers to the exterior of your RV, there are some things you can do to the interior of your RV to protect it all winter long. Remove any perishable items, like food, that may rot throughout the winter. Wipe down surfaces and vacuum the interior to prevent stains from setting. Open cabinets to allow warm air to circulate the plumbing lines, preventing any potential freeze damage. Consider using a dehumidifier to remove moisture from the air and prevent mold from growing.
Shop Omni Outdoor Living Today!
By following these steps and using the right tools, you can effectively protect your RV from the harsh winter weather, ensuring it’s in great shape for your next adventure. For more products and tools for winterizing your RV, visit Omni Outdoor Living.


