
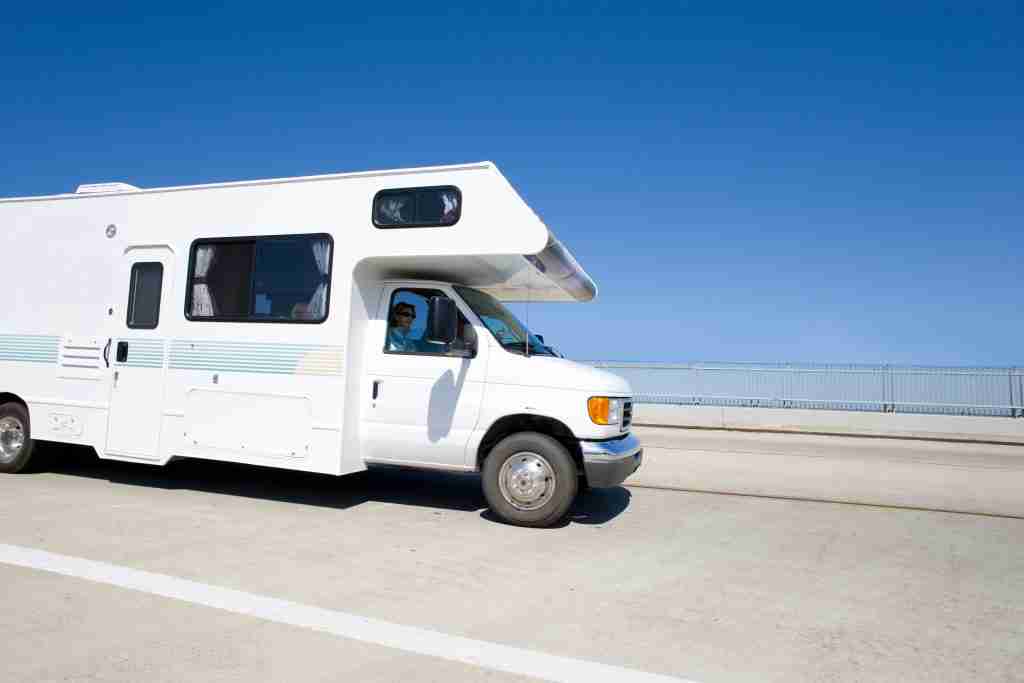
A thorough RV pre-trip inspection checklist takes 15 to 20 minutes and helps prevent the three most common causes of roadside failure: tire blowouts, brake problems, and hitch or disconnect issues. Working through the rig in a consistent order (exterior front, right side, rear, left side, then roof and systems) speeds up the process and reduces the chance of missing something important. This guide covers 25 checkpoints, organized by rig area, so you can move through the inspection efficiently before every trip.
How long does an RV pre-trip inspection take?
Most RVers complete a full walk-around in 15 to 20 minutes once the routine becomes familiar. The first several inspections may take longer while you learn the layout of your rig and what to look for at each checkpoint. Over time, the process becomes efficient enough to fit comfortably into any pre-departure schedule.
Most mechanical breakdowns are preceded by warning signs that a careful inspection would catch. Addressing potential problems before departure is far less disruptive than dealing with a breakdown on the road, and the time investment is minimal compared to the cost of a tow or an unplanned repair stop.
Exterior Walk-Around (Items 1 to 10)
Begin at the front of the rig and work clockwise around the exterior. These ten checkpoints are the foundation of any RV pre-trip inspection checklist and address the most common sources of roadside problems.
- Tires and tire pressure: Check every tire, including the spare, against the manufacturer’s recommended PSI. Low tire pressure is a leading cause of blowouts. Use a quality gauge or TPMS system and inspect each tire for sidewall cracking or uneven tread wear.
- Lug nuts: Visually inspect each wheel for loose or missing lug nuts. If you have a torque wrench available, verify lug nuts are torqued to specification, particularly after any recent tire work.
- Running lights, headlights, and brake lights: With a second person outside, cycle through headlights, taillights, brake lights, and turn signals to confirm all are functioning. Non-working lights pose a safety issue and are a common cause of roadside citations.
- Awnings stowed and secured: Confirm the awning is fully retracted and the travel strap is secured. An awning that opens at highway speed can cause significant damage to the unit and nearby vehicles.
- Slide-outs fully retracted: Walk the length of the rig and verify that every slide-out is completely retracted. Check both interior and exterior, as a slide can appear closed while still partially extended.
- Tongue, hitch, and coupler: Inspect the hitch ball connection, verify that the safety chains are crossed in an X pattern, and confirm that the coupler latch is fully engaged. Apply slight pressure to the trailer to test the connection.
- Breakaway switch and cable: Verify that the breakaway cable is attached to the tow vehicle, not the hitch itself. Check that the cable has adequate slack for turns and that the switch moves freely.
- License plate and plate light: Confirm the license plate is visible, properly secured, and that the plate light is operational for nighttime travel.
- Mirrors adjusted: Adjust both tow vehicle mirrors to provide full rearward visibility along the sides of the trailer. Mirror adjustment is best completed before leaving the driveway.
- Windows, vents, and compartment doors: Walk the exterior and verify that every storage compartment door is latched and locked. Unsecured compartment doors present a serious hazard at highway speeds.
Roof and Seals (Items 11 to 14)
The roof is one of the most commonly skipped areas during a pre-trip inspection, but it is also where water damage begins. A visual check from a step stool or ladder takes only a few minutes and can identify issues before they become costly. Seal degradation is the leading cause of water intrusion in RVs, so regular attention to your RV seal condition is an important part of protecting the investment.
- Roof surface condition: Look for bubbling, soft spots, or tears in the roof membrane. These are indicators of water intrusion that should be addressed before travel.
- Vent covers: Confirm all roof vent covers are closed and undamaged. Cracked or broken covers allow water and insects to enter the rig.
- AC shroud: Inspect the AC shroud for cracks or loose fasteners. Road debris and UV exposure cause gradual deterioration that can allow water to enter around the unit.
- Sealant around roof edges and penetrations: Check the caulking around antennas, vents, AC units, and roof edges. Cracked or separating sealant is a common entry point for water damage.
Underbody and Tanks (Items 15 to 18)
The underbody is an area many RVers overlook during a pre-trip check. A brief visual inspection confirms that the jacks are retracted, the connections are stowed, and the tank valves are properly closed before departure.
- Stabilizer jacks fully retracted: Verify that all stabilizer and leveling jacks are completely retracted and secured for travel. A jack that contacts the road surface can cause serious damage to the unit.
- Hoses and cords stowed: Confirm that the water hose, shore power cord, and sewer hose are all disconnected and properly stored. These items are easy to overlook when departing a comfortable site.
- Gray and black tank levels: Check tank levels before leaving. Departing with tanks near capacity limits your flexibility and may require an unplanned stop at a dump station.
- Dump valves closed and caps secure: Verify both dump valves are fully closed, and end caps are in place. An unsealed valve or missing cap creates a significant sanitation problem during travel.
Holding Tanks and Fluids (Items 19 to 21)
In addition to the gray and black tanks covered in the underbody check, a few fluid and utility system checks help ensure the rig is ready to travel and that you have the resources you need for your route.
- Fresh water tank level: Determine whether you will travel with a full, partial, or empty fresh tank based on your route and planned hookups. Keep in mind that a full tank adds considerable weight, which affects fuel efficiency and handling.
- Propane on or off as needed: If traveling with the refrigerator running on propane, confirm the regulator is functioning. Otherwise, close the propane valve at the tank before departure. Check your route for tunnels or ferry crossings that prohibit propane use.
- Generator oil and fuel levels: Check the oil and fuel levels before each trip. Operating a generator with insufficient oil can cause serious engine damage. Top off fuel if you plan to use the generator while traveling or at camp.
Inside the Rig (Items 22 to 25)
The interior walk-through is the final step before departure. Road vibration, braking, and cornering can shift or dislodge unsecured items, so a systematic check from front to back helps prevent damage inside the rig.
- Loose items secured: Check cabinets, countertops, and open shelving for dishes, cookware, toiletries, and food containers that could shift during travel. Cabinet latches should be confirmed closed throughout the rig.
- Refrigerator switched to DC or auto: If the refrigerator operates on propane while stationary, switch it to 12V DC or auto mode for travel. Verify the setting is correct before departure, as most modern units do not switch automatically.
- TV and entertainment mounts locked: Swing-out TV mounts and swivel arms should be locked in the travel position. Unsecured mounts can shift during transit, causing damage to both the television and the surrounding cabinetry.
- Interior vent covers and roof vents are closed: Walk the interior and confirm that all vent fan covers are closed. An open vent during rain can allow significant water intrusion in a short period of time.
Tools Every RVer Should Keep in the Rig
Having the right RV tools on board lets you address minor issues found during the walk-around without waiting for roadside assistance. The following items cover the most common needs.
- Tire pressure gauge or TPMS monitor
- Torque wrench for lug nut verification
- Multimeter for battery and electrical checks
- Flashlight or headlamp
- Roof sealant tape or lap sealant
- Wheel chocks and leveling blocks
- Basic hand tool set including screwdrivers, pliers, and an adjustable wrench
- Duct tape and electrical tape
Keeping a supply of RV maintenance supplies on hand, including roof cleaner, rubber seal conditioner, and slide-out lubricant, supports preventive care during the inspection and reduces the likelihood of issues developing over time.
Frequently Asked Questions
What is the most commonly missed item on an RV walk-around?
The breakaway cable and roof sealant conditions are two of the most frequently overlooked checkpoints. The breakaway cable is easy to miss because it blends into the hitch area, and the roof is often skipped because it requires getting eyes above the roofline. Both have significant consequences if neglected, so they are worth adding to a consistent pre-departure routine.
How often should I check tire pressure?
Tire pressure should be checked before every trip. Pressure decreases approximately 1 PSI for every 10-degree drop in ambient temperature, which means pressure can change meaningfully between trips even when no air has been lost. Always check the cold pressure before moving the rig.
Should I do an inspection before every trip or just long ones?
A pre-trip inspection is recommended before every departure, regardless of distance. Short trips carry many of the same risks as long ones, and the routine becomes faster and more reliable with consistent practice.
What tools do I need for a basic RV inspection?
A tire pressure gauge, a flashlight, and careful visual inspection cover most of the walk-around. A torque wrench for lug nut verification and a multimeter for electrical checks expand your ability to identify and address issues before they require professional service.
What is the difference between a walk-around inspection and an annual inspection?
A walk-around is a pre-departure safety check that you perform yourself before each trip, typically in 15 to 20 minutes. An annual inspection is a comprehensive mechanical and systems evaluation performed by a certified RV technician. Both serve different purposes. The RV pre-trip inspection checklist identifies immediate safety concerns, while the annual inspection addresses long-term wear, component condition, and maintenance needs that are not visible during a standard walk-around.
Experience Outdoor Living!
At Omni Outdoor Living, we make it our mission to help customers get the most out of their outdoor experiences. We offer quality outdoor products focused on outdoor recreation, DIY projects, entertaining friends and family, or just relaxing outside.


