
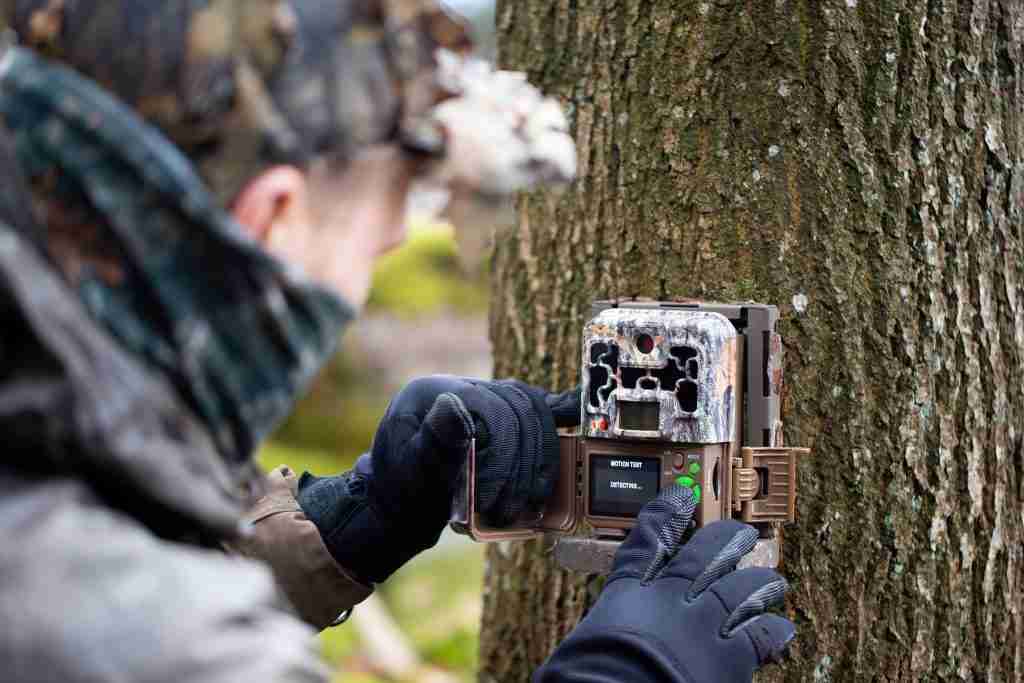
Trail cameras have become an essential tool for hunters and landowners looking to understand animal movement before the season begins. Whether you are scouting big game, monitoring property activity, or fine-tuning a hunting strategy, trail cameras provide insight that is difficult to gather any other way. When used correctly, they offer a real-time look at patterns, behavior, and travel routes that help hunters make smarter decisions. Here’s what you need to know about the setup, use, and data interpretation for trail cameras.
Choosing a Trail Camera
Selecting the right trail camera starts with understanding which features matter most for hunting and scouting applications. Not all trail cams are built for the same purpose, so matching features to your goals helps improve long-term results.
- Photo quality and HD video for identifying animals, body size, and antler development in both day and night conditions
- Trigger speed to capture animals moving quickly along a game trail
- Battery life to support long-term scouting with fewer site visits
- Storage options, including SD cards or cellular trail cameras that send photo and video data in real time
- Cellular camera signal and data plans for hunters who want real-time updates without frequent card checks
For long-term setups, some hunters also use solar-powered trail cameras, which can extend battery life and reduce the need for frequent site visits when conditions allow. Choosing the right combination of features reduces missed captures and improves the value of the data you collect.
Trail Camera Placement and Settings for Best Results
Even the best trail camera will underperform if it is placed poorly. Effective trail camera placement starts with understanding how animals naturally move through an area, especially along well-used game trails and travel corridors.
Position cameras where movement naturally funnels, such as trail intersections, edges of food sources, or terrain features that guide travel. For deer and similar game, placing the camera about waist high and angled slightly downward often produces consistent results. Direction matters as well. Facing north or south helps avoid direct sunlight, which can cause false triggers and washed-out images during daylight hours.
Fine-tuning camera settings improves reliability. Adjust trigger zones to match expected movement paths and select photo or photo-and-video modes based on what information you want to capture. Flash or no-flash options should be chosen carefully, particularly in pressured areas where visible flashes may influence animal behavior.
How Often and When to Check Trail Cameras
Checking trail cams too frequently can work against your goals. Each visit introduces scent and disturbance, which may shift animal movement patterns.
Many hunters strike a balance by checking cameras every few weeks unless conditions require closer monitoring. Cellular trail cameras reduce the need for physical checks by sending photos in real time, allowing you to observe activity without entering the area.
Timing matters as well. Checking cameras during mid-day, when animal movement is typically lower, helps minimize disruption. Planning access routes that avoid crossing game trails further reduces pressure on wildlife
Interpreting Trail Camera Data
Trail camera data becomes valuable when patterns start to emerge. Reading trail camera photos and video over time reveals movement habits, preferred routes, and changes in behavior.
Pay attention to time stamps to understand when animals are most active. Repeated appearances at specific hours often indicate preferred travel times. Group behavior, including herd movement or solitary activity, can also offer insight into pressure levels and seasonal changes.
Background details matter. Weather conditions, wind direction, and changes in vegetation can influence movement. Taken together, these details help build a clearer picture of how animals use the landscape.
Applying Data to Your Hunt
Once patterns are identified, trail camera data can guide practical decisions in the field. Repeated travel routes help determine stand or blind placement, while timing data supports better hunt scheduling.
Trail cameras also help hunters understand how pressure affects behavior. Shifts in movement after human activity or weather changes can signal when adjustments are needed. For landowners, this information supports habitat planning and long-term wildlife management. Trail cameras are especially useful for scouting big game with cameras over extended periods.
Ethical and Legal Considerations
Trail camera use comes with responsibility. Regulations vary by state and region, and some areas restrict the use of cellular cameras or limit placement near feeding sites. Always confirm local laws before deploying trail cameras, particularly on public land. On private property, permission from the landowner is required. Ethical use also means minimizing pressure on wildlife, respecting privacy, and removing cameras when they are no longer needed.
Trail cameras are most effective when used as part of a thoughtful scouting strategy rather than a standalone solution. Proper setup, careful placement, and consistent data interpretation all contribute to better decision-making in the field. By learning how animals move, when they travel, and how conditions influence behavior, hunters and landowners can make more informed choices. When used responsibly and in accordance with local regulations, trail cameras become a powerful tool for understanding wildlife and planning more effective hunts.
Experience Outdoor Living!
At Omni Outdoor Living, we make it our mission to help customers get the most out of their outdoor experiences. We offer quality outdoor products focused on outdoor recreation, DIY projects, entertaining friends and family, or just relaxing outside.


