
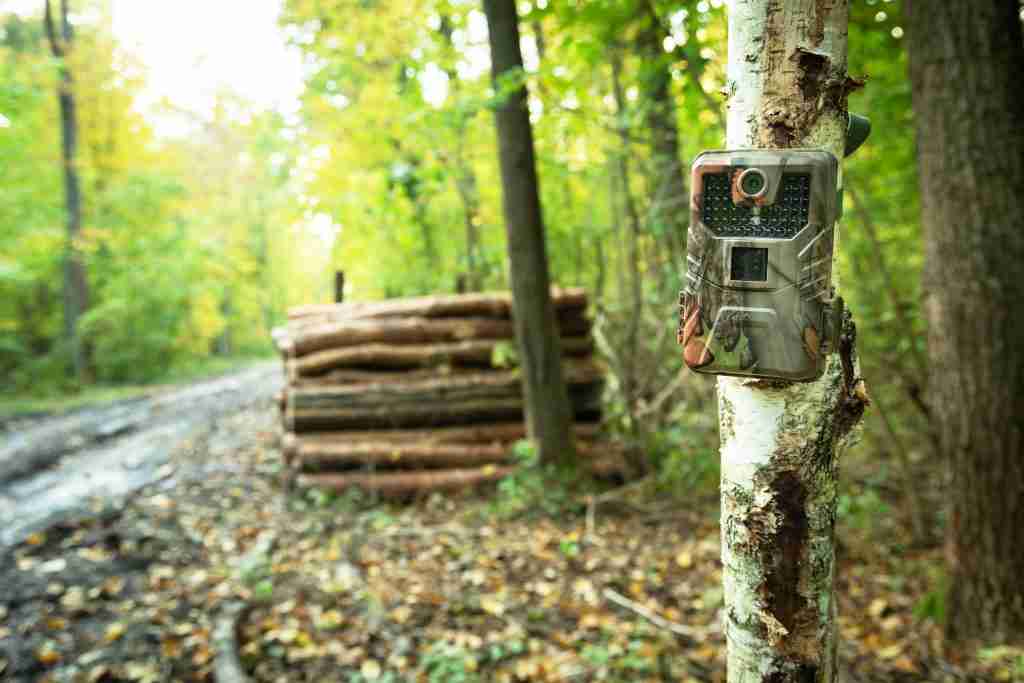
This time of year is great for scouting deer, but it can be difficult to know just where exactly to set up your trail camera. Rather than setting it up in a random place, put the camera in one of four high-yield spots. These spots are food sources, water sources, travel corridors, and scrapes. Not only is the camera’s location important, but also how it is set up. Here’s what you need to know about trail camera setup for deer season.
Where should you place a trail camera for deer?
Several locations are great for placing your trail camera to spot deer. The first area to set up your camera is near food sources. To start, find out what deer eat most in your area and put your camera there. For example, a corn field or a clover-filled space is a prime spot to set up the camera.
Next, find water sources. Set up the camera near creeks or ponds. Deer gather at these places, so you’ll have a good chance of capturing them on camera. The best trail camera placement in this area is facing a spot on the bank where you can see signs of deer bedding and lots of tracks.
Travel corridors are another great place to set up your camera. These man-made or nature-made paths are often used by deer. Be sure to angle the camera so you can see down the trail. Doing this will help you get more footage of deer on the trail since they’ll be in the detection range for longer.
One last spot to set up the camera is at a scrape. If you know of a well-used deer scrape anywhere on your property, set up a camera there. It is also possible to make a mock scrape by clearing a space of leaves to expose the dirt and hanging a licking branch. If you do this, be sure to wear rubber boots and gloves to mask your scent.
Camera Height, Angle, and Direction
Most hunters set up their cameras three to four feet from the ground. This height ensures that the deer’s body can be fully captured on camera.
When mounting a trail camera, angle it so that you can see down the path. This provides a better view of the trail and increases the chances of spotting a deer on it.
When it comes to the direction your camera should face, it is best to set it up facing north. A south-facing camera can work too, but it is not as highly recommended. North-facing cameras give clearer photos than cameras facing other directions because there’s no glare on the lens.
How often should you check trail cameras?
When scouting, it is best to check the trail cameras every three to four weeks. This helps keep the area undisturbed, so any nearby deer keep sticking around. If you have a cellular camera, you can check it virtually as often as you like until you need to change the batteries.
When checking an SD card camera, it is important to go when the deer will be bedded down. Late morning to early afternoon is the best time to pull the card. When you visit the site, make sure to mask your scent.
Are cellular or SD card cameras better for trail cams?
Cellular and SD card cameras are both good options. Here’s the breakdown of cellular cameras versus SD card cameras:
Cellular cameras allow you to review the footage without going to the site. This saves time while keeping the area undisturbed. These cameras also notify you when they take a picture. Cellular cameras do have subscription fees and depend on a strong enough signal to transmit photos. In some areas, there are legal restrictions on the use of cellular cameras. Typically, cellular cameras are more expensive in the long run than SD card cameras due to their subscription fees.
On the other hand, SD card cameras incur no fees other than the initial purchase cost. You can set up your camera anywhere because it does not need a signal to work. Although SD card cameras are legal everywhere, you must go to the site to get the card. You need to have a device such as an SD card reader in order to review the photos. If the camera gets stolen or damaged, the photos are permanently lost. Also, if the batteries die or the card fills up, you will not know until the next time you check on the camera.
While both cellular and SD card cameras are great, knowing which one to buy depends on how much you’re willing to pay, the legality of cellular cameras in your area, and how many built-in features you want your camera to have.
What Patterns Matter When Reading Data
When reading the data from your cameras, take note of the date and time of day. If your camera has a video mode, check which direction the deer was headed.
One thing to keep in mind is the temperature. Deer tend to move in moderate temperatures rather than in extreme heat or cold. As you review your pictures, you may notice patterns in deer movement based on temperature and time of day. This information can help you determine the best times to hunt as temperatures change throughout the season.
If you see a deer at the same place and time each day, or if you notice other patterns, keep a record of them. As you continue hunting the same general area for a few years, being able to track deer movement from prior years can be super beneficial.
Public-Land Trail Camera Rules and Theft Prevention
Every place is different when it comes to trail camera rules. Some places may prohibit the use of cellular cameras entirely, while others allow them during certain seasons. In many areas where a camera is set up on public land, the camera owner’s information (such as their phone number, name, and address) must be visible without moving any equipment. Before setting up your camera, research the trail camera rules for your area.
Unfortunately, one of the biggest issues in deer scouting is the risk of theft. However, there are a few ways to prevent your camera from being stolen. You can mount your camera higher up to keep it less noticeable to people. Many hunters put air tags in the camera housing so it can be tracked if it gets taken. Securing the camera with heavy locks and boxes makes it much more difficult to take.
Common Trail Camera Setup Mistakes
Trail camera setup is a crucial part of deer scouting–you set it up wrong, you miss out on seeing deer. Most often, people set up cameras facing directly east or west. This causes a major glare on the lens, so pictures turn out poorly. Setting up cameras facing north will give you the best pictures.
Another setup mistake to avoid is placing your camera at a ninety-degree angle to the trail. Instead, angle it so it shows down the path. This gives the deer that take the trail more time on camera.
Trail camera height is another thing people often get wrong. Mounting the camera about three feet high, or deer shoulder height, is best. However, if you are concerned about theft, you may mount it higher. If you must mount the camera higher, make sure it is angled downward so you can capture images of deer as they pass by. Don’t forget to take test photos after you’ve set up the camera, just to ensure you are getting the best pictures possible.
Aside from positioning and angling the camera, other mistakes included checking the camera too often and failing to clear vegetation. If you have an SD card camera, limit how often you check it. Visiting the site too often is disruptive and can cause the deer to change their patterns. Clearing vegetation as you set up the camera is important. You do not want leaves or branches blowing in front of the camera and creating false triggers. Make sure there is a clear view.
To get the most out of your hunting season, your trail camera placement for deer is crucial. Be sure to set up your camera in one of the four high-yield places to maximize your chances of seeing deer. As you mount the camera, make sure it is angled properly and facing the right direction. Avoid the most common scouting mistakes, and you’ll be on track for a great season.
FAQ
How high should a trail camera be mounted?
Most trail cameras are mounted at deer shoulder height, which is roughly three feet. Although this is most common, some are also mounted higher and angled downward to prevent theft and make them less visible, while still capturing good images of the deer.
How often should I check my trail cameras in summer?
Checking the cameras every three to four weeks is best. You don’t want to check them too often, as it can cause the deer to move areas.
Are cellular trail cameras worth the subscription?
If you have good cell reception, cellular trail cameras are totally worth the subscription fee. The only times you would be better off with an SD card camera are when the land you’re scouting is small, when you have poor cell reception, or when you plan to use multiple cameras for scouting.
Should trail cameras face north or south?
Trail cameras should face north rather than south. Facing south is only necessary if the north view has very thick foliage or an incline that limits the detection range.
What’s the best trail camera placement for big bucks?
A few of the best places to capture images of big bucks are at an active scrape, a food plot, a water source, or travel corridors. Be sure to mount your camera correctly to get the best pictures possible.
Do trail cameras spook deer?
Trail cameras do spook deer, since they have highly developed senses. To avoid detection, use a “low-glow” feature. Also, limit the time you spend checking your camera. Deer easily pick up on scents, and detecting yours may cause them to change their patterns.
Experience Outdoor Living!
At Omni Outdoor Living, we make it our mission to help customers get the most out of their outdoor experiences. We offer quality outdoor products focused on outdoor recreation, DIY projects, entertaining friends and family, or just relaxing outside.


